
Things are moving right along now. A couple of days ago I got my 2 brother in laws together and we reunited car with engine. The slant six is officially back in the hole that has been under the bonnet for 18 months. Whats more, its looking a lot nicer than when it came out.

A very grotty before

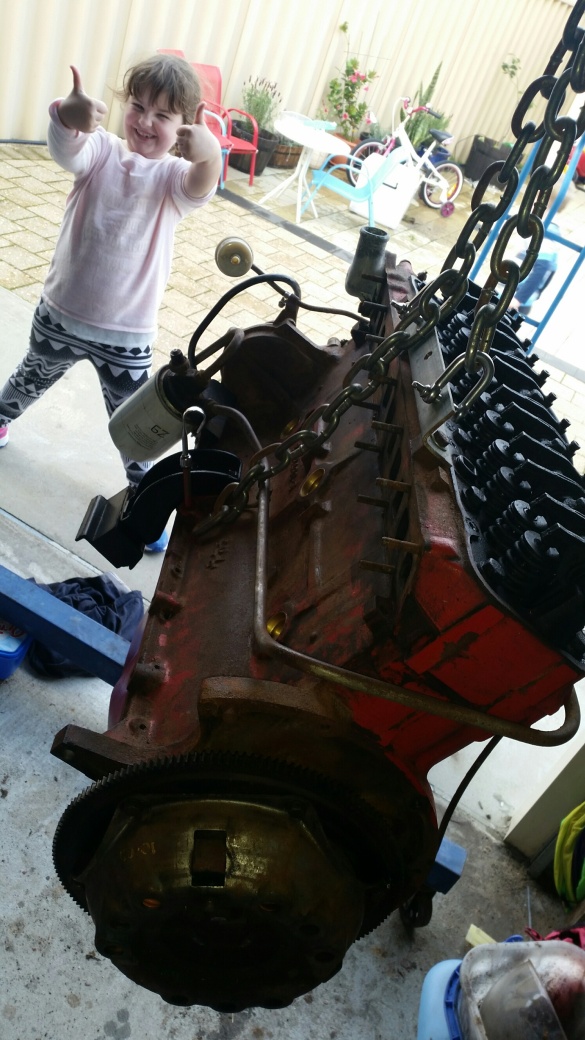
Somewhat nicer after. No manifolds on yet (which will make it look even nicer) but you get the idea
First job was to install the flywheel, clutch, bellhousing, starter and transmission. I decided it would go quicker and easier to do all that in the shed with the engine out of the car and then just install the whole lot into the car as a unit. For the most part i think that was a good decision, you have far better access to everything in the shed, tools right nearby, and no need to contort yourself trying to access bolts in hard to reach places. As a result i could easily get the torque wrench on everything and do them up to spec. It made getting the whole assembly a little trickier to get back in the car, but nothing too difficult.
Clutch in…looking good dad

Bellhousing and Clutch fork installed
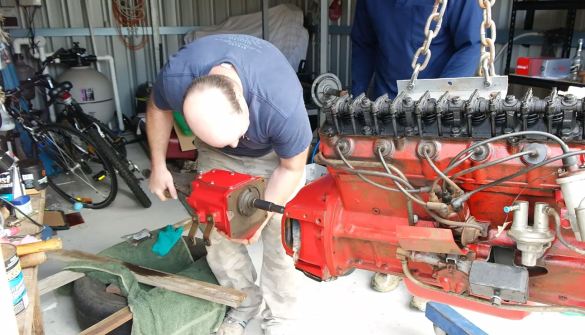
Fitting the little Chrysler 3 Speed

Torquing it down, much easier doing this work out of the car
To do the install, I ended up rigging the lift chain slightly towards the front of the block, so the weight of the trans made the rear hang low. The slant is well set up for this with 2 threaded bolt holes in the top of the block located perfectly for mounting a lifting point. In order to get the steep angle of attack required to get the trans into the tunnel, and the super long slant 6 fitted in the engine bay, we wrapped a strap around the transmission extension housing, and pulled it towards the front of the car, using the K member as a pulley. One we had lowered the whole lot low enough for the trans to fit into the tunnel, we just slackened off the strap and the whole thing just slipped into position.

Preparing to drop her in

Steep angle of attack, note the yellow being pulled to keep the extension housing low. Hillbilly engine leveler!

Plop, its in
To level the engine up, a trolley jack with a block of wood on top was slid under the trans and jacked up. A little jiggling and the engine plopped into the mounts. Not so easy was the transmission mount. The crossmember the mount fit into was gummed up with dirt and underbody sealer. I hadn’t brought it out for a clean as the handbrake cable was seized inside it and i didn’t want to risk breaking it. Some underbody wire brushing and some taps with a rubber mallet sorted it out and it was soon buttoned up. Job done.

The biggest holdup was the bloody trans mount. It just didn’t want to fit. The mount needed cleaning up, few taps, and we were in business

Bonnet on. Done!

Stanced a lot nicer now with the heavy slant back in the hole
Next step is wiring, plumbing everything up, fitting the manifolds, fluids, and we are ready to fire up.
I also have taken care of some odd jobs, including front shocks, fitting a new inner splashguard (in fibreglass…no rust!) and rubber seals.

One of the true heroes of my recent efforts. My AEG impact wrench. These undo everything, don’t tackle an old car build without one
Next update i will hopefully have video of a running slant (with all the fluids retained on the inside). Fingers crossed.
Huge thanks to my Bro in laws for helping me out, an engine install is not a one man job. Double thanks to bro in law Warren for filming everything in HD, so i have some awesome momentos of the occasion.
Also did up the old extractors for the build. These were pretty rusty and grotty, but a run in the sandblaster and some high temp flat black had them looking sweet

